There are two systems and they fail independently
Every residential opener manufactured in the United States since 1993 is required to have two independent entrapment protection systems. People treat them as one thing. They are not, they fail separately, and each has its own test.
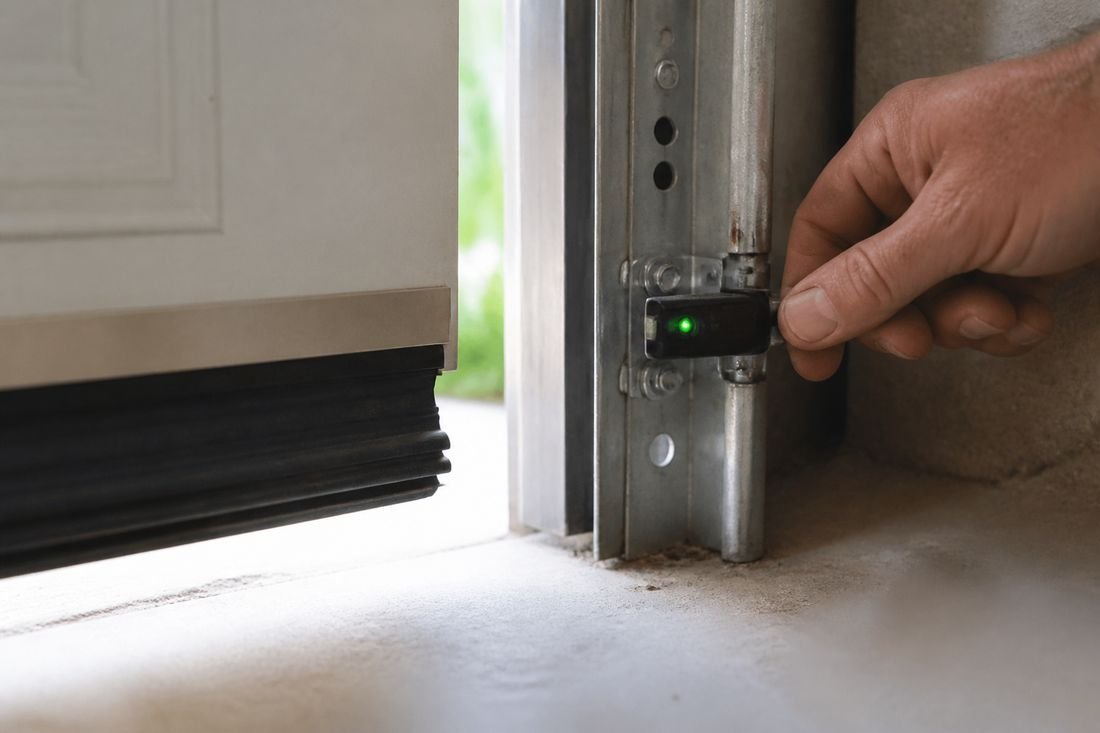
The photo-eye system is a beam across the opening, six inches or less off the floor. Break the beam while the door is closing and it stops and reverses. This catches something that is in the opening before the door arrives.
The mechanical reverse watches the force the motor is drawing. If the door meets resistance on the way down, the opener detects the load and reverses. This catches something the beam missed — something lower than the beam, or off to one side of it.
A door can pass one and fail the other. In our experience the photo-eyes are what people test and the mechanical reverse is what is actually out of adjustment.
Test one: the photo-eyes
- Open the door fully.
- Press the wall button to close it.
- As it comes down, wave a broom handle or a length of timber through the beam — not your foot, and not your hand.
- The door must stop and travel all the way back up. Stopping is not a pass. It has to reverse fully.
If it does not reverse: look at the two sensor units at floor level. One has a steady light, the other has a light that indicates alignment; the exact colours vary by brand but both should be on and neither should be flickering. A blinking light means they are not seeing each other. Nine times in ten this is a bracket that got nudged by a bicycle, or a lens with a film of dust on it. Clean both lenses with a dry cloth and adjust the brackets until both lights are steady.
Also check the height. Sensors must be no more than six inches above the floor. We regularly find them mounted at eighteen inches because it was a tidier place to put the bracket, which means a small child crawling underneath is below the beam.
Test two: the mechanical reverse (the one people skip)
- Get a piece of two-by-four and lay it flat on the floor, in the middle of the opening, under the door. Flat, not on edge — flat gives you the 1.5-inch height the manufacturers specify.
- Close the door with the wall button.
- When the door touches the timber it must reverse and go back up.
A rolled-up towel is not a valid test. Neither is a cardboard box. Both compress, and the door keeps travelling and never draws the extra current that triggers the reverse. Use timber.
If it does not reverse, or it stops dead without going back up, the down-force setting is too high. There is an adjustment on the opener — a screw on older units, a button sequence on newer ones — and the manual tells you which. Turn the force down in small increments and retest after each change.
The critical caveat about force adjustment
If you have to keep increasing the down force to get the door to close at all, stop. You have a mechanical problem, and turning the force up is disabling the safety system that is trying to tell you about it.
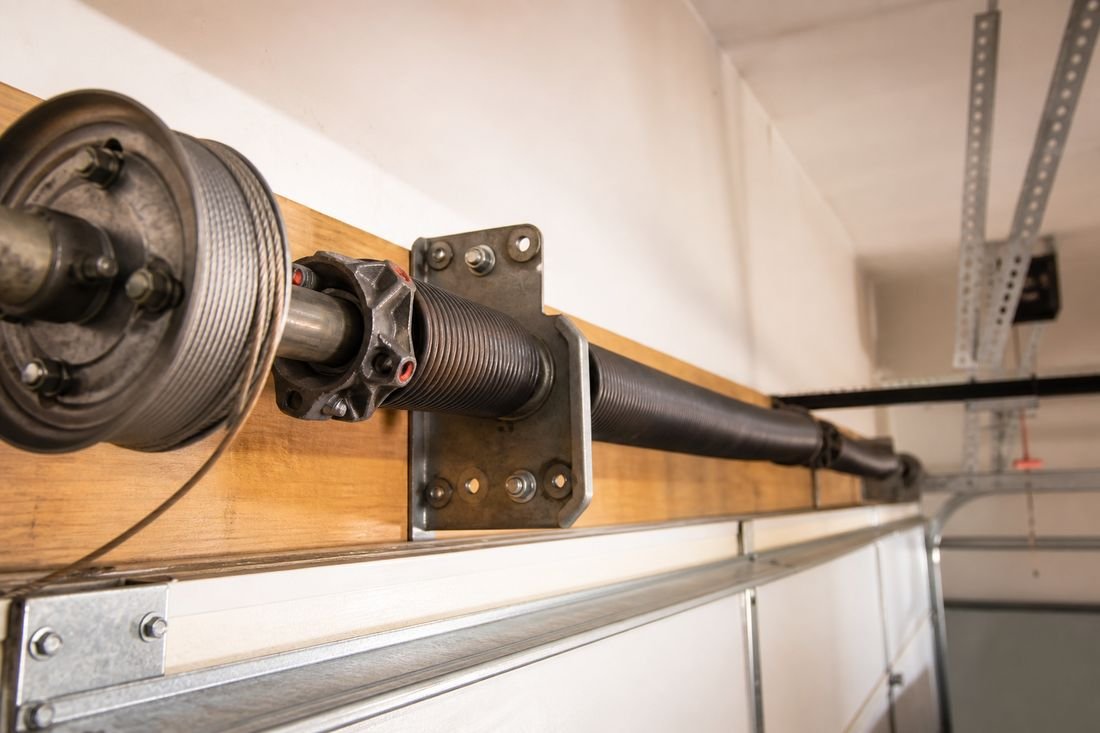
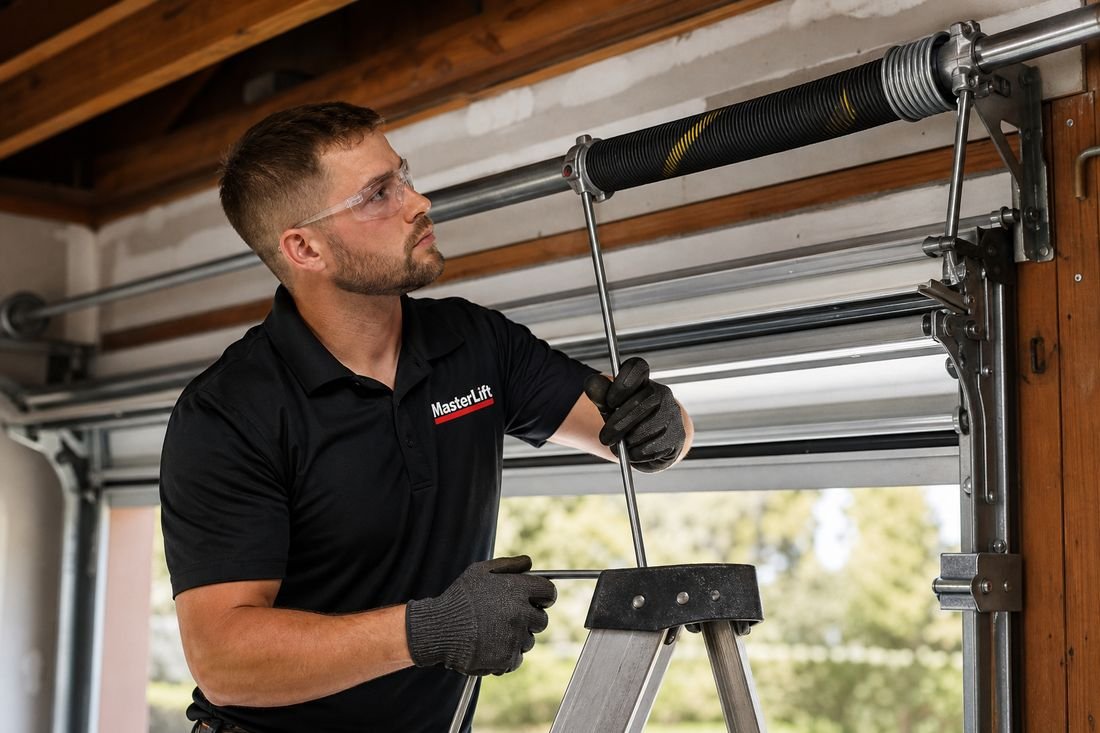
The opener should barely be working. On a correctly balanced door the springs carry essentially all the weight and the opener is only overcoming friction and providing direction. If it needs real force, something is binding: a bent track, a seized roller, a cable off its drum, or springs that no longer have the right amount of energy in them.
Test the balance before you touch the force setting. Pull the release cord with the door closed, lift the door by hand to about waist height, and let go. It should stay roughly where you left it. If it drops, the springs are weak. If it flies up, they are over-wound. Either way, that is the fault, not the opener.
The third test nobody mentions: the release cord
The red emergency release cord disconnects the door from the opener so you can lift it by hand. It matters most during a power cut, which is precisely when you cannot test it conveniently, so test it now.
- Close the door.
- Pull the red cord straight down. You should hear the trolley disengage.
- Lift the door by hand. It should move smoothly.
- Lower it, then re-engage: on most units you pull the cord toward the door, or simply run the opener until the trolley clicks back in.
Never pull the release with the door open. A door that is up and disconnected from the opener is held only by the springs, and if a spring is weak the door comes down hard.
How often, and what to write down
Monthly is the manufacturer recommendation and it takes five minutes. Realistically, do it at the two points in the Connecticut year when things change: before the first freeze, and again in spring. Add a check any time the door starts sounding different.
If you have children, do the two-by-four test regardless of season. It is the one that catches the failure mode that hurts people, and it is the one most likely to be silently out of adjustment because somebody turned the force up one winter to stop a nuisance reversal.
And if the door fails either test and you cannot resolve it in one adjustment, stop using the opener until it is fixed. Use the release cord and lift it by hand. An opener with a defeated safety system is worse than no opener.