Do these in order, because the order matters
The balance test comes first, and not for arbitrary reasons. If the door is out of balance, every other item on this list is cosmetic — you would be lubricating and tightening a system that is fundamentally loaded wrong. Find that out before you spend thirty minutes on the rest.
Total time is around forty minutes the first time and closer to twenty once you know where everything is. Do it before the first freeze and again in spring.
1. Balance test (five minutes, most important)
- Close the door.
- Pull the red release cord to disconnect the opener.
- Lift the door by hand. It should take moderate, even effort throughout.
- Stop at about waist height and let go.
Pass: it stays put, or drifts very slowly.
Fail, drops: springs have lost tension or one has broken. Stop here and call somebody.
Fail, flies up: over-wound springs. Also stop. An over-sprung door can fly open hard and it stresses the opener on the down cycle.
Fail, feels heavy or catches: could be springs, could be a binding roller or a bent track. Note where in the travel it catches — that is useful information for whoever looks at it.
Re-engage the opener when you are done. Never pull the release with the door open.
2. Look at the springs and cables (three minutes)
Do not touch anything here. Look.
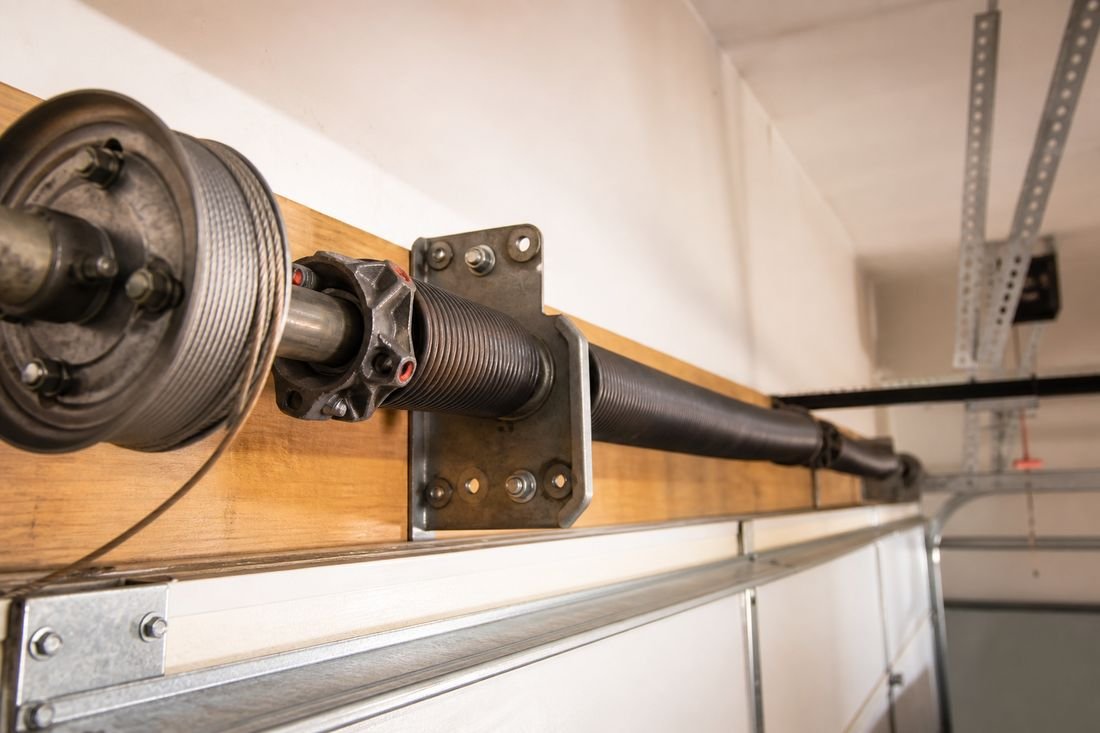
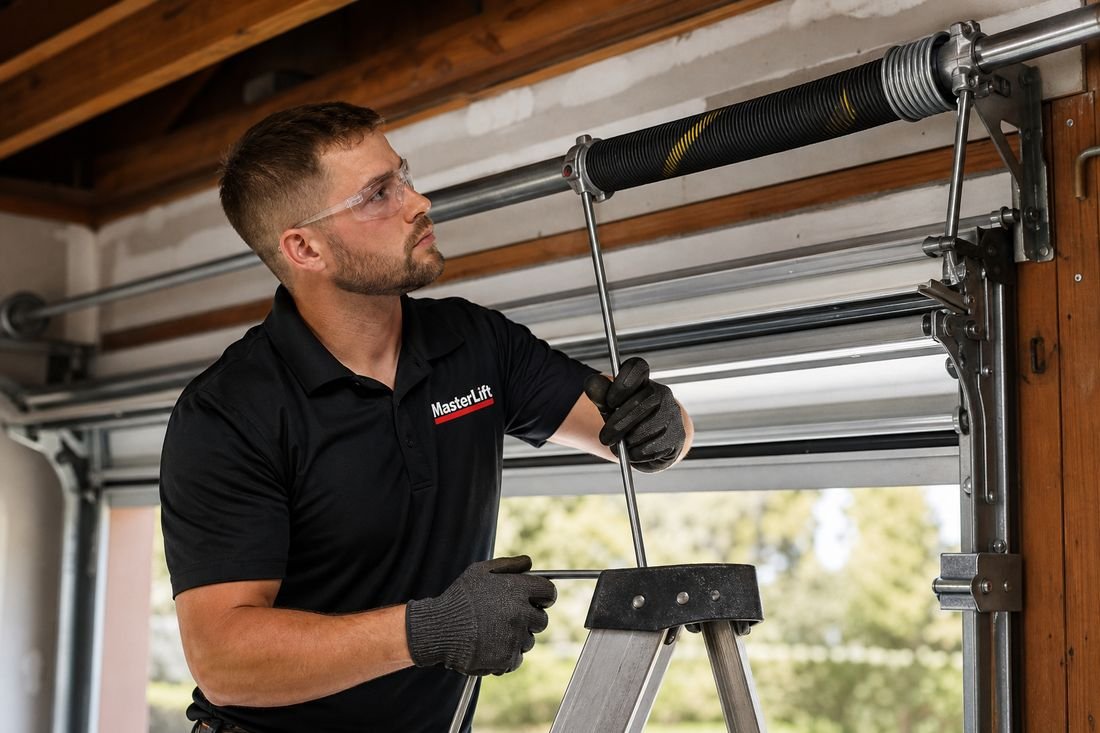
- Torsion springs: a gap in the coil means broken. Look for rust, and for coils that appear stretched apart compared with the rest of the spring.
- Extension springs: check for a safety cable running through the centre of each. If there is not one, get one fitted — it is a few dollars and it is the difference between a broken spring and a projectile.
- Cables: follow each one from the bottom bracket up to the drum. You are looking for fraying, kinks, broken strands, and rust at the bottom bracket where water sits. A cable with visible broken strands is on borrowed time.
- Drums: the cable should sit neatly in the spiral groove, not overlapping itself.
Photograph anything that looks wrong. A photo of the spring gap or the frayed cable tells a technician more over the phone than a paragraph of description.
3. Hardware (ten minutes)
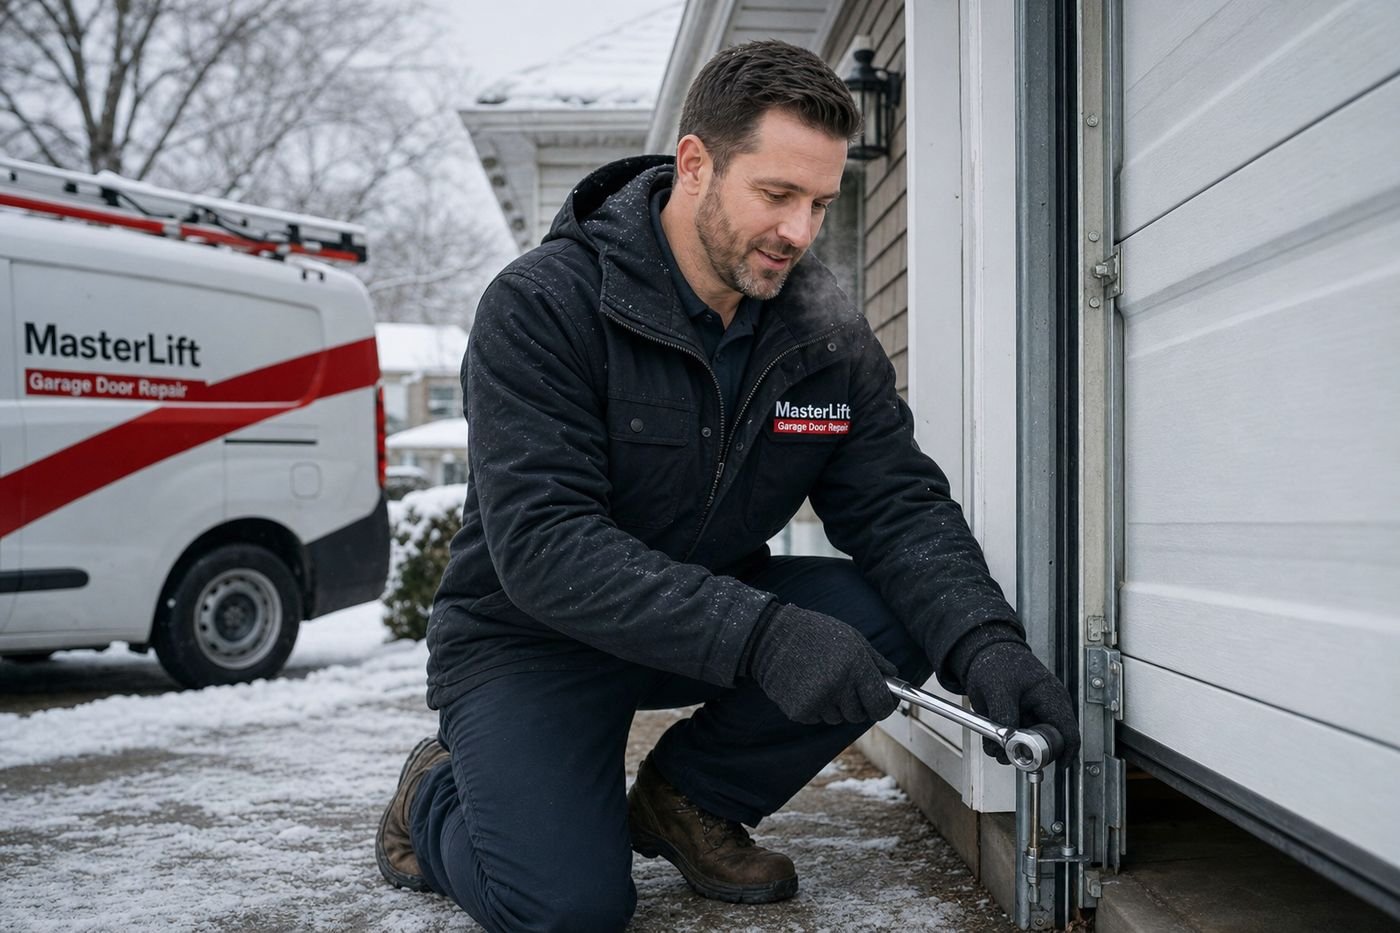
A year of vibration backs off fasteners. Go round with a socket set.
- Hinge bolts between sections.
- Roller bracket bolts.
- Track mounting brackets, and the lag bolts holding the vertical track to the jamb.
- Opener rail mounting and the header bracket.
- The bolts on the opener's door arm.
Snug, not maximum force. Over-tightening strips the sheet metal in the sections, and then you have a hole rather than a loose bolt.
Two things to leave alone. The bottom brackets at each lower corner are under permanent spring tension — they carry a warning label for a reason. And the set screws on the torsion drums hold everything against the spring load. Neither is a homeowner item.
4. Rollers (five minutes)
Run the door up and down once and watch the rollers.
They should turn, not slide. A roller that is skidding along the track has a seized bearing, and it is dragging rather than rolling — that is friction the opener is paying for. Check for wobble in the stem and for flat spots on the wheel.
Steel rollers with exposed bearings are what comes on most builder-grade doors and they are the loudest, shortest-lived component on the door. Nylon rollers on sealed ball bearings are an inexpensive upgrade and the single most noticeable change you can make to how the door sounds. If there is a bedroom over the garage, do this.
5. Lubrication (five minutes, and easy to get wrong)
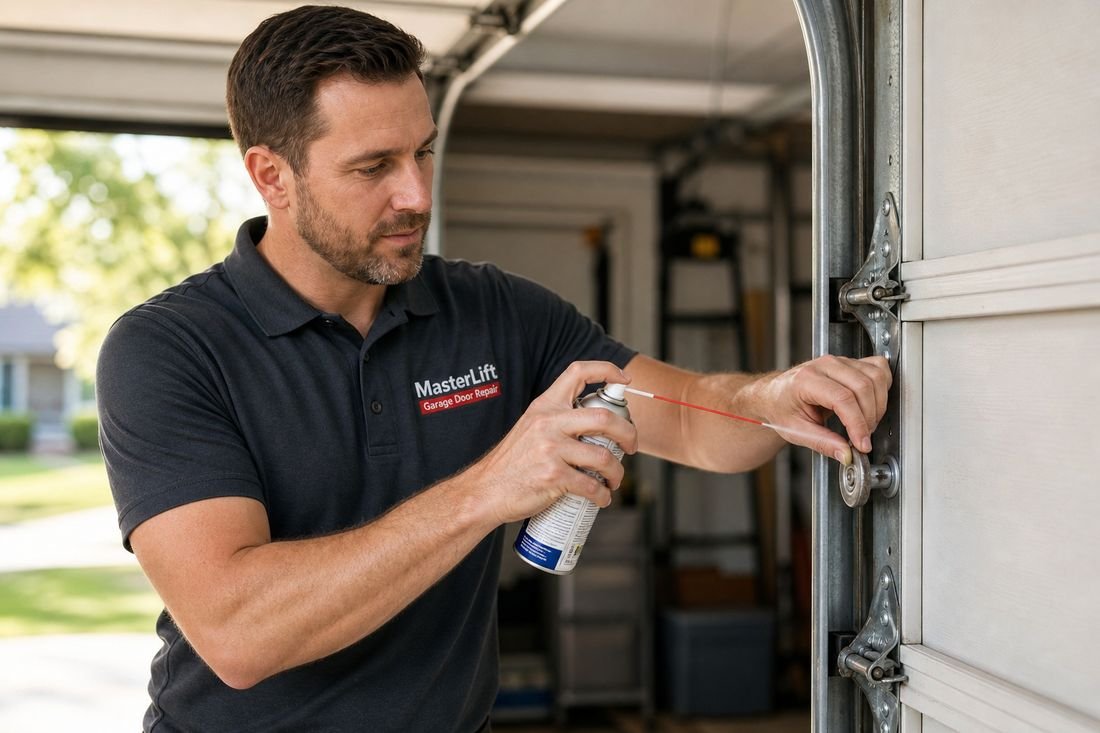
Use a lithium-based or silicone garage door lubricant. Not WD-40 — it is a solvent and a water displacer, and it strips the lubricant that is already in a bearing rather than adding any.
Lubricate: hinge pivot points, roller stems and bearings (not the wheel face), the torsion spring coils, the end bearing plates, the centre bearing, and the opener's chain or screw drive if the manufacturer calls for it.
Do not lubricate: the tracks. Ever. The track is a running surface for the roller, not a bearing. Grease in the track collects grit and becomes an abrasive paste. Wipe tracks clean with a rag and a little degreaser and leave them dry. Also skip belt drives — a belt drive does not want lubricant.
Apply sparingly and run the door a few cycles to distribute it, then wipe any excess.
6. Seals and weatherstrip (five minutes)
- Bottom astragal: the rubber strip along the base. Look for cracks, flat spots and tears. Close the door and look for daylight along the floor line. This is the largest air leak on most garage openings and the cheapest thing on this list to replace.
- Perimeter stop moulding: the vinyl-flanged trim around the jambs and header. Should touch the door face along its whole length.
- Between-section seals: on insulated doors, check the joints have not compressed flat.
In Connecticut this is a freeze issue as much as an energy one. A failed bottom seal lets water under the door, it freezes to the slab, and now the door is bonded to the floor on the coldest morning of the year.
7. Safety tests (five minutes, non-negotiable)
Both of them, every time.
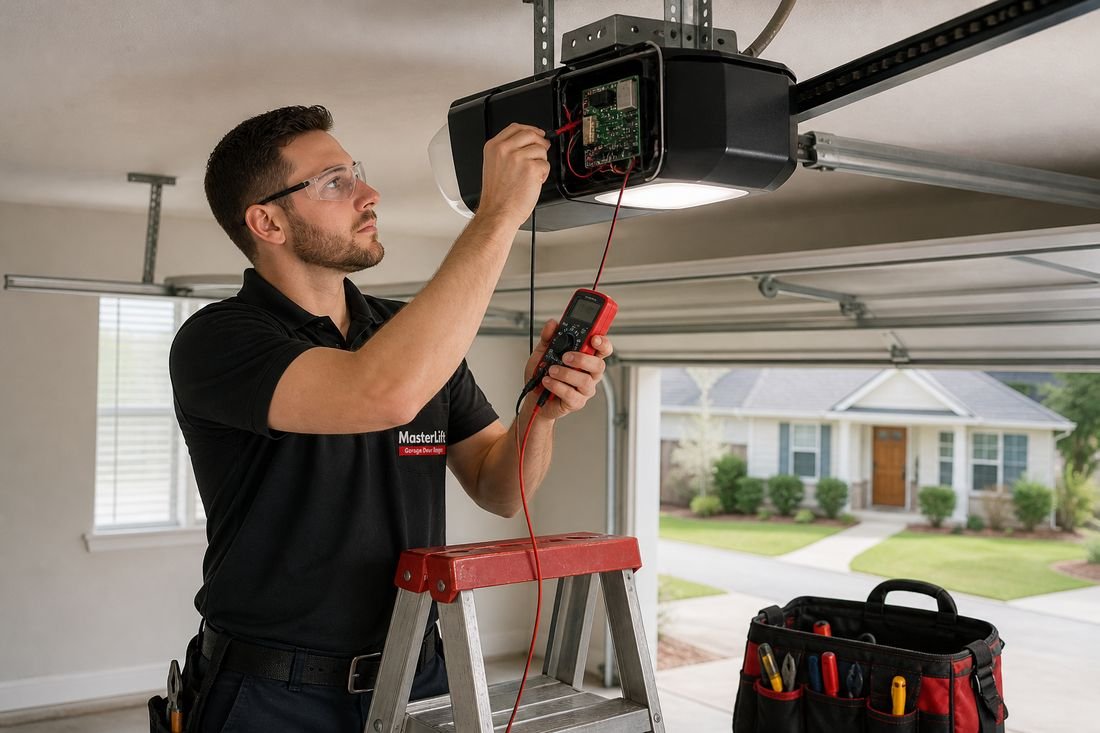
Photo-eyes: close the door and break the beam with a broom handle. It must stop and reverse fully. Check both sensor lights are steady, both lenses are clean, and both units are mounted no more than six inches off the floor.
Mechanical reverse: lay a two-by-four flat on the floor under the door and close it. The door must hit the timber and reverse. A towel does not work as a test because it compresses.
If either fails and one adjustment does not fix it, stop using the opener until it is sorted.
8. Clean and look (two minutes)
Wash the door face with mild detergent — road salt in a Connecticut winter is genuinely corrosive, and steel doors rust from the bottom up. While you are down there, look at the bottom section for bubbling paint, which is rust working from the inside.
Sweep the floor along the door line so grit does not sit under the seal and cut it.
What to leave to somebody with the bars
Adjusting spring tension. Replacing springs. Removing bottom brackets. Loosening drum set screws. Anything involving cables under load.
These are not difficulty issues, they are stored-energy issues. A torsion spring on a standard seven-foot door is wound to somewhere around seven and a half turns, and releasing that without proper winding bars puts it through your hands.
Everything else on this list is genuinely homeowner work, and doing it twice a year is the difference between a door that lasts twenty-five years and one that starts costing money at twelve.